
Selecting the Right Turkey

When selecting the right turkey for your holiday meal, consider the size of your gathering. A general rule of thumb is to estimate about 1 to 1.5 pounds of turkey per person. If you’re hosting a smaller group, a turkey in the 10-12 pound range should suffice, while larger groups may require a turkey in the 18-22 pound range.
Additionally, keep in mind whether you prefer white or dark meat as this can impact your choice of turkey. While white meat is leaner and tends to dry out more easily, dark meat has more flavor and is juicier. Some individuals may opt for a mix of both by including a whole turkey or additional turkey parts. Ultimately, selecting a turkey that aligns with your preferences and the size of your gathering is key to a successful holiday feast.
• Consider the size of your gathering
• Estimate 1 to 1.5 pounds of turkey per person
• Smaller groups may need a 10-12 pound turkey, while larger groups may require an 18-22 pound turkey
• Think about whether you prefer white or dark meat
• White meat is leaner but can dry out easily, while dark meat is juicier and has more flavor
• Some individuals may choose a mix of both by including a whole turkey or additional parts
Choosing Fresh vs Frozen
When it comes to selecting a turkey for your holiday meal, one important decision to make is whether to choose a fresh or frozen option. Fresh turkeys are those that have never been chilled below 26°F (-3°C) and must be kept refrigerated until cooking. They may offer a slightly better texture and flavor compared to frozen turkeys. On the other hand, frozen turkeys have been chilled to 0°F (-18°C) or below and require thawing before cooking. While frozen turkeys may be more convenient to store and purchase in advance, some people find that the texture can be slightly different from fresh turkeys.
The choice between fresh and frozen turkey ultimately comes down to personal preference, convenience, and availability. If you prefer the convenience of purchasing your turkey ahead of time and are comfortable with the thawing process, a frozen turkey may be the best option for you. However, if you value the perceived superior taste and texture of a fresh turkey and have the means to store it safely in the refrigerator, then choosing a fresh turkey could be the way to go.
• Fresh turkeys are never chilled below 26°F and must be refrigerated until cooking
• Frozen turkeys are chilled to 0°F or below and require thawing before cooking
• Fresh turkeys may offer slightly better texture and flavor compared to frozen turkeys
• Frozen turkeys are more convenient to store and purchase in advance
• The choice between fresh and frozen turkey depends on personal preference, convenience, and availability
• If you prefer convenience and are comfortable with the thawing process, choose a frozen turkey
• If you value taste and texture, have means to safely store it, opt for a fresh turkey
Thawing the Turkey Safely
When it comes to thawing a turkey safely, it’s crucial to plan ahead to ensure that your bird is ready for cooking on time. The safest method for thawing a turkey is in the refrigerator. Allow approximately 24 hours for every 4-5 pounds of turkey. Place the turkey in its original packaging on a tray to catch any juices and prevent cross-contamination with other foods in the fridge.
If you’re short on time, you can opt for the cold water method. Place the turkey in a leak-proof plastic bag and submerge it in cold water. Change the water every 30 minutes to ensure it stays cold. Thawing in cold water takes about 30 minutes per pound, so make sure to calculate the proper thawing time in advance. Remember never to thaw a turkey at room temperature, as this can lead to bacteria growth and foodborne illness.
• Thawing a turkey safely is crucial for food safety
• The safest method is to thaw the turkey in the refrigerator
• Allow 24 hours for every 4-5 pounds of turkey
• Place the turkey on a tray to catch juices and prevent cross-contamination
• If short on time, use the cold water method by submerging the turkey in a leak-proof bag
• Change water every 30 minutes to keep it cold
• Thawing in cold water takes about 30 minutes per pound
• Never thaw a turkey at room temperature to avoid bacteria growth
Preparing the Brine Solution
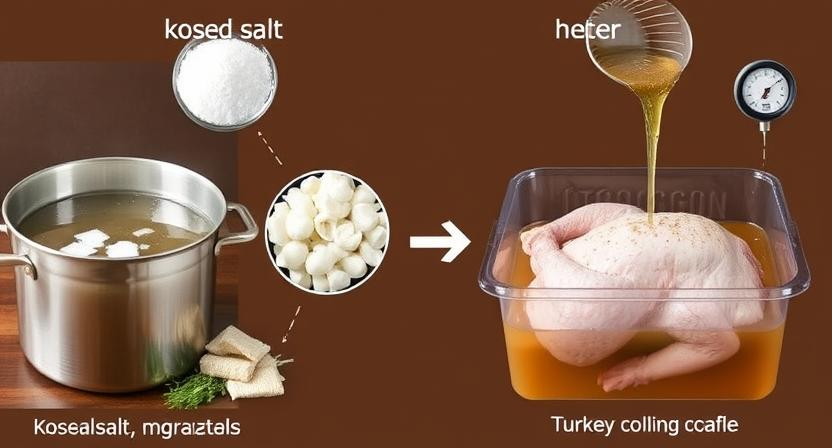
To prepare the brine solution for your turkey, you will need a large pot or container that is non-reactive, such as stainless steel or food-safe plastic. Begin by heating water on the stovetop and adding kosher salt, sugar, and any desired herbs or spices to create a flavorful brine. Stir well until the salt and sugar are completely dissolved, then remove the brine from the heat and allow it to cool to room temperature before proceeding.
Once the brine has cooled, submerge the turkey in the solution, ensuring that it is fully immersed. Cover the container and refrigerate for the recommended brining time, based on the weight of the turkey. Brining adds moisture and flavor to the turkey, resulting in a juicier and more flavorful end product. Remember to rinse the turkey thoroughly after brining to remove excess salt before seasoning and roasting for a delicious holiday meal.
• To prepare the brine solution, use a large non-reactive pot or container
• Heat water on the stovetop and add kosher salt, sugar, herbs, and spices
• Stir until salt and sugar are dissolved, then let the brine cool to room temperature
• Submerge the turkey in the cooled brine for recommended time based on weight
• Cover and refrigerate the container while turkey is soaking in brine
• Brining adds moisture and flavor to turkey for a juicier end product
• Rinse turkey thoroughly after brining to remove excess salt before seasoning and roasting
Brining the Turkey
Before roasting your turkey, consider brining it to enhance flavor and keep the meat moist. Brining involves soaking the turkey in a saltwater solution with various herbs and spices for several hours. This process allows the turkey to absorb the flavors and retain moisture during the cooking process, resulting in a juicier and more flavorful bird.
To begin brining your turkey, ensure you have a large enough container to submerge the turkey completely in the brine solution. Mix together water, salt, sugar, and any desired herbs or spices in the container until the salt and sugar are fully dissolved. Place the turkey in the brine, cover, and refrigerate for the recommended brining time based on the weight of the bird. Remember to rinse the turkey thoroughly after brining to remove excess salt before preparing it for roasting.
• Before roasting your turkey, consider brining it to enhance flavor and keep the meat moist.
• Brining involves soaking the turkey in a saltwater solution with various herbs and spices for several hours.
• This process allows the turkey to absorb the flavors and retain moisture during the cooking process, resulting in a juicier and more flavorful bird.
• To begin brining your turkey, ensure you have a large enough container to submerge the turkey completely in the brine solution.
• Mix together water, salt, sugar, and any desired herbs or spices in the container until fully dissolved.
• Place the turkey in the brine, cover, and refrigerate for recommended brining time based on weight of bird.
• Remember to rinse thoroughly after brining to remove excess salt before preparing for roasting.
Seasoning the Turkey
To infuse the turkey with rich flavors and enhance its natural taste, generously season both the exterior and interior of the bird. A classic seasoning blend often includes a mixture of salt, pepper, garlic powder, onion powder, paprika, and herbs like thyme, rosemary, and sage. Make sure to season the turkey at least a few hours before cooking to allow the flavors to penetrate the meat thoroughly.
For an added layer of complexity and depth of flavor, consider creating a compound butter with herbs and spices to rub under the turkey’s skin. This technique not only seasons the meat from the inside out but also helps keep the turkey moist during the roasting process. Experiment with different seasoning combinations to suit your preferences and elevate the taste of your Thanksgiving centerpiece.
• To infuse the turkey with rich flavors, season both the exterior and interior generously
• Classic seasoning blend includes salt, pepper, garlic powder, onion powder, paprika, thyme, rosemary, and sage
• Season the turkey at least a few hours before cooking for flavors to penetrate thoroughly
• Create a compound butter with herbs and spices to rub under the turkey’s skin for added flavor
• Rubbing compound butter under the skin helps keep the turkey moist during roasting
• Experiment with different seasoning combinations to elevate taste of Thanksgiving centerpiece
Stuffing the Turkey (Optional)
When opting to stuff the turkey, prepare the stuffing mixture separately before placing it inside the bird. Be sure to mix all ingredients thoroughly to ensure even flavor distribution. Stuff the cavity loosely to allow heat to circulate properly during roasting, helping to cook the stuffing thoroughly.
As the turkey cooks, the stuffing will also reach a safe internal temperature of 165°F (74°C). To avoid potential foodborne illness, always use a food thermometer to check the internal temperature of the stuffing before serving. Remember that overstuffing the bird can lead to uneven cooking and potential safety risks, so exercise caution when preparing this optional dish.
• When opting to stuff the turkey, prepare the stuffing mixture separately before placing it inside the bird.
• Mix all ingredients thoroughly to ensure even flavor distribution.
• Stuff the cavity loosely to allow heat to circulate properly during roasting.
• The stuffing will reach a safe internal temperature of 165°F (74°C) as the turkey cooks.
• Use a food thermometer to check the internal temperature of the stuffing before serving.
• Overstuffing the bird can lead to uneven cooking and potential safety risks, so exercise caution when preparing this optional dish.
Trussing the Turkey
To truss a turkey involves tying the legs and wings close to the body using kitchen twine. This not only helps the turkey cook more evenly by keeping the limbs close to the body but also gives it a neater appearance. Begin by placing the turkey breast side up and crossing the legs over each other before securing them with twine. Then tuck the wings under the body and tie them securely to keep everything compact during roasting.
Trussing the turkey is a simple yet effective technique that can enhance the presentation of your cooked bird. By keeping the limbs close to the body, you also prevent them from burning during the roasting process. Additionally, trussing helps the turkey retain its shape, ensuring that it cooks evenly and looks impressive on the table. With just a few loops of twine, you can elevate the appearance and taste of your roasted turkey.
• To truss a turkey involves tying the legs and wings close to the body using kitchen twine.
• This helps the turkey cook more evenly by keeping the limbs close to the body.
• Trussing gives the turkey a neater appearance overall.
Trussing is a simple yet effective technique that can enhance your cooked bird in several ways. By following these steps, you can ensure that your roasted turkey not only looks impressive but also cooks perfectly for a delicious meal.
Preheating the Oven

Once you have properly prepared your turkey for roasting, it is essential to preheat your oven to the recommended temperature as specified in your recipe. This step ensures that the turkey cooks evenly and thoroughly, resulting in a delicious and juicy bird.
Simply set your oven to the required temperature and allow it to preheat fully before placing the turkey inside. This process usually takes about 15-20 minutes, but it may vary depending on your oven. A properly preheated oven is key to achieving a perfectly cooked turkey with a golden, crispy skin.
• Preheating the oven is essential for cooking a turkey evenly and thoroughly
• Set your oven to the recommended temperature specified in your recipe
• Allow the oven to preheat fully before placing the turkey inside (usually takes 15-20 minutes)
• A properly preheated oven is key to achieving a golden, crispy skin on your turkey
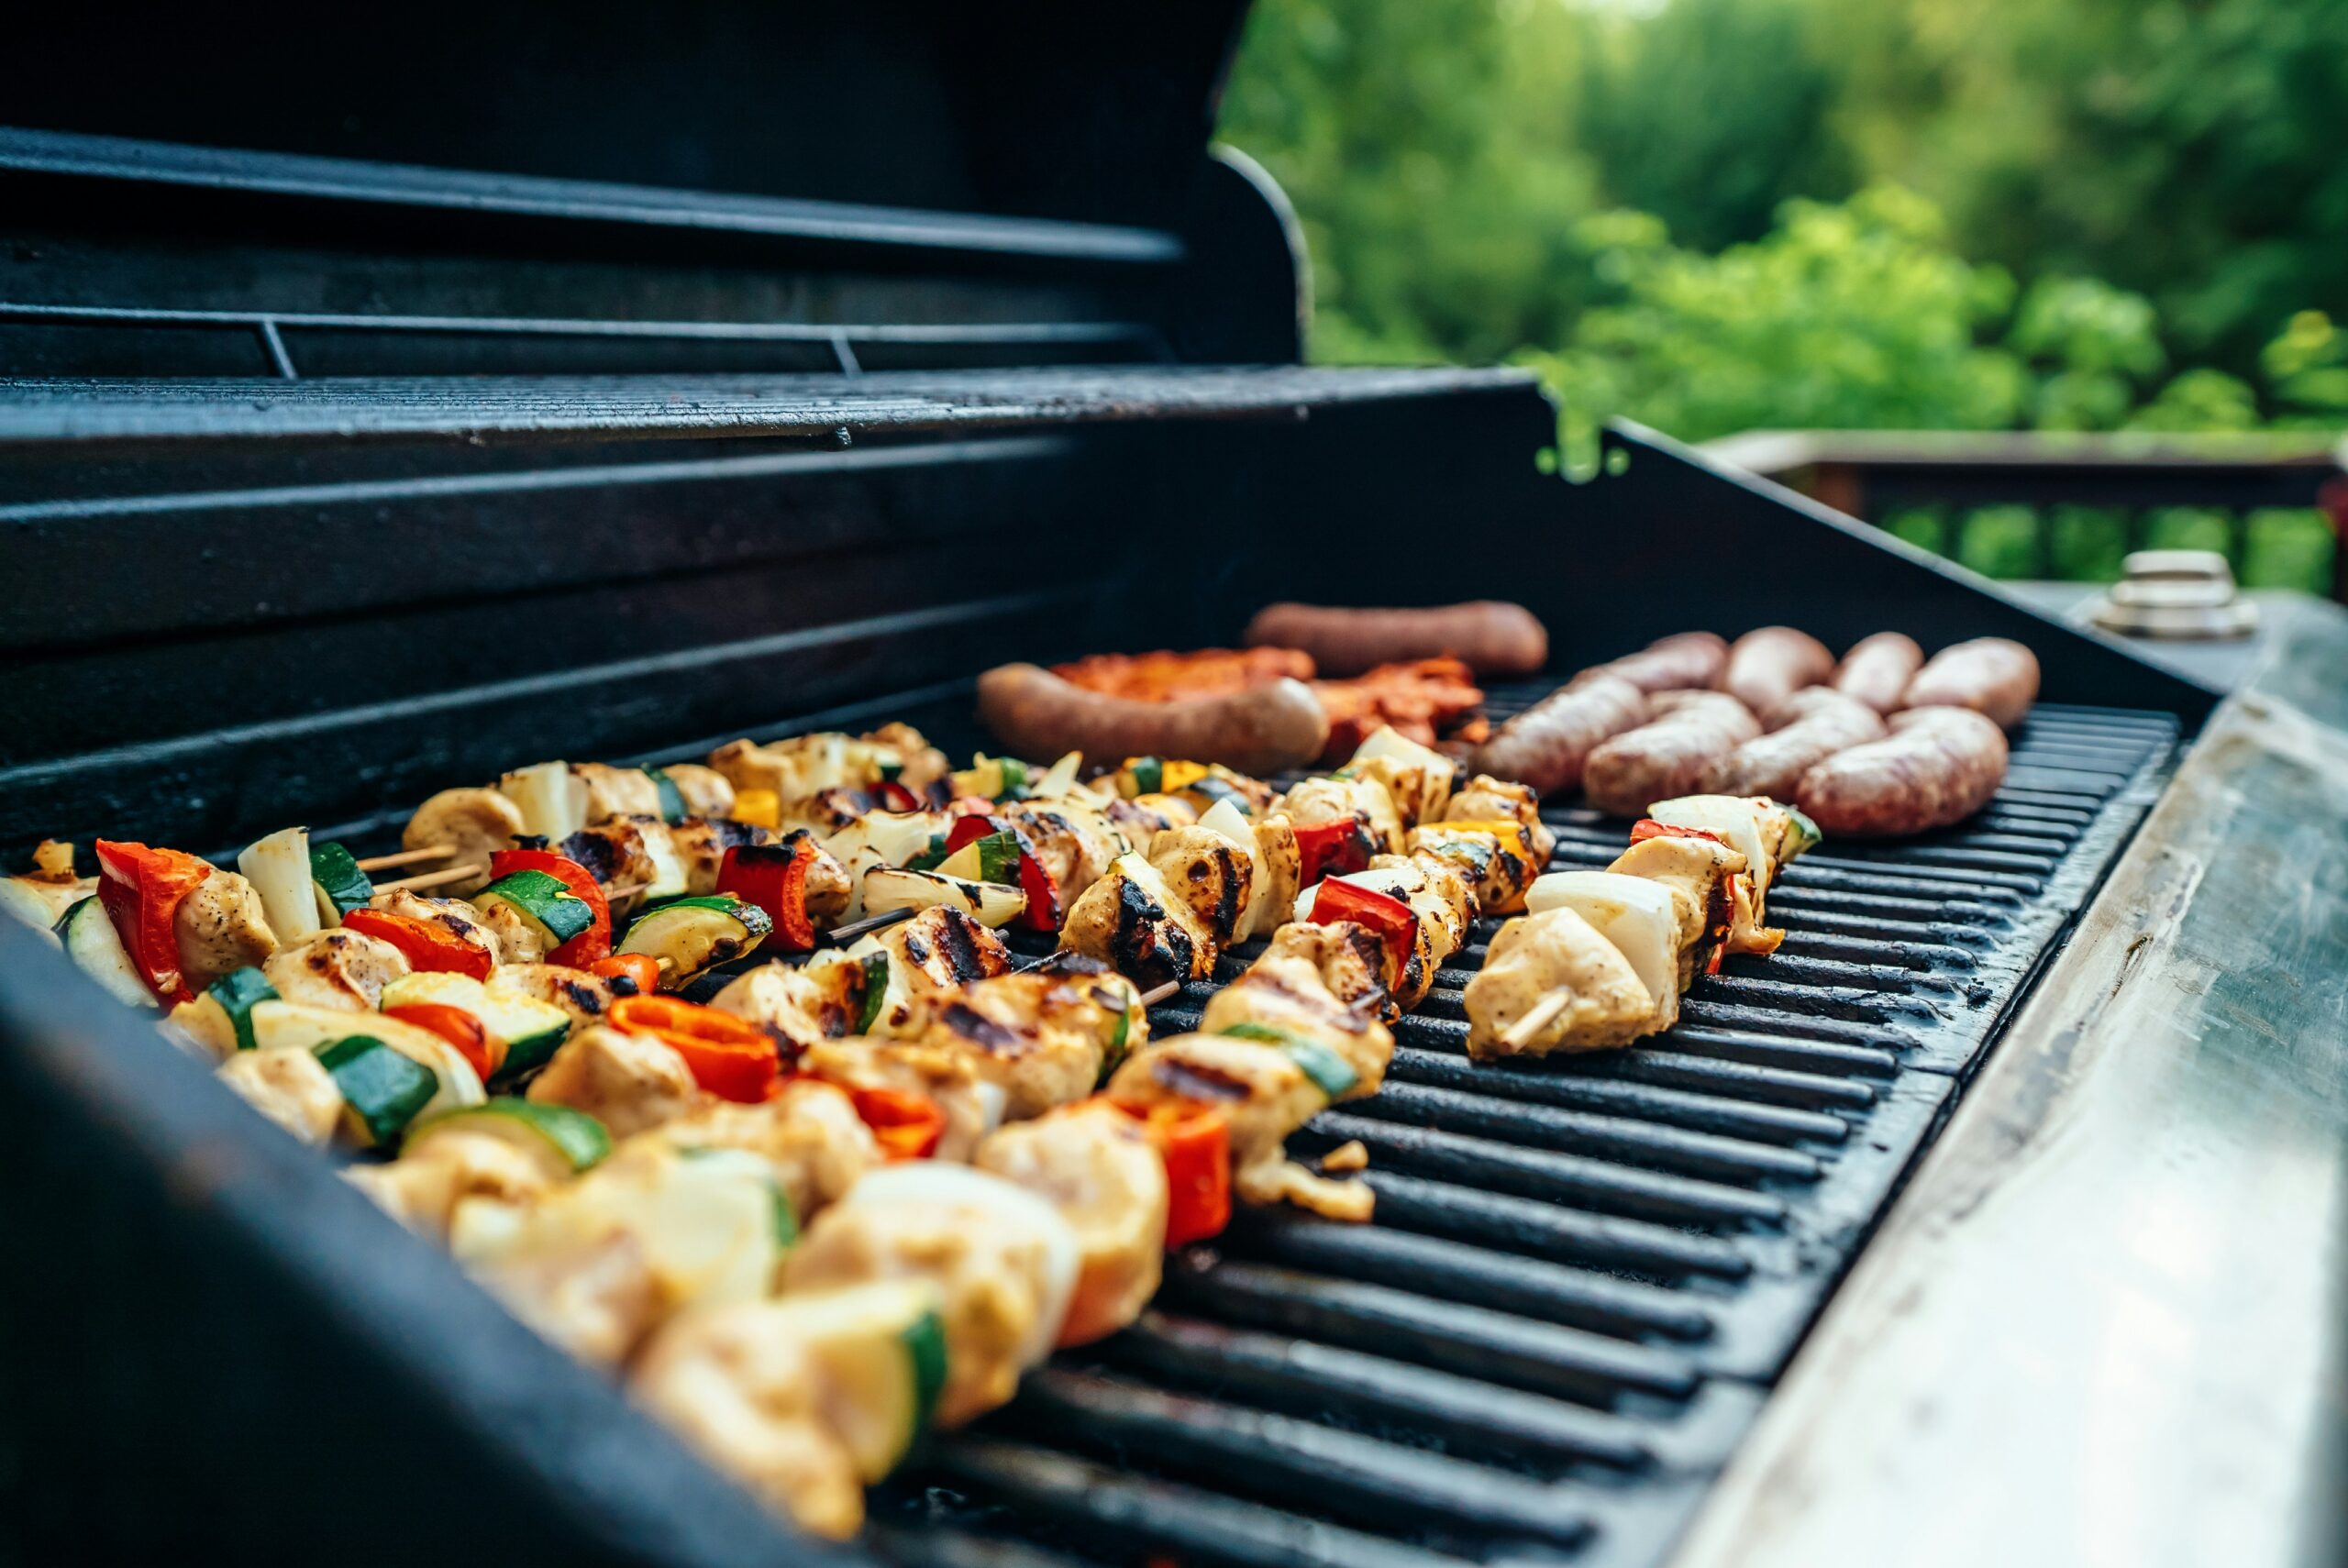
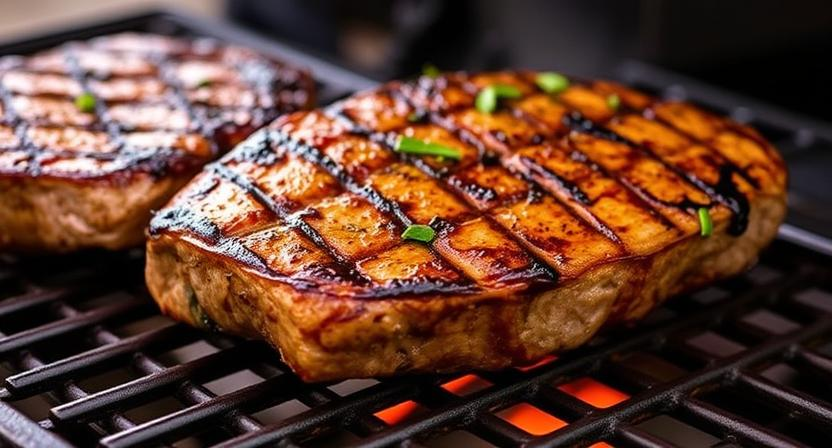
Roasting the Turkey
Once the turkey is prepared and ready to roast, preheat the oven to the recommended temperature according to the recipe you are following. Make sure to adjust the oven racks to accommodate the size of the roasting pan with the turkey inside.
Carefully place the turkey in the oven and let it roast according to the cooking time specified in the recipe. It’s important to periodically check the turkey throughout the roasting process to ensure even cooking, and baste the turkey with the pan juices to keep it moist and flavorful. Remember to use a meat thermometer to check the internal temperature of the turkey to ensure it is cooked to perfection.
• Preheat the oven to recommended temperature
• Adjust oven racks to fit roasting pan with turkey
• Carefully place turkey in oven and roast according to recipe
• Periodically check turkey for even cooking
• Baste turkey with pan juices for moisture and flavor
• Use meat thermometer to check internal temperature of turkey
Basting the Turkey
Basting the turkey is a crucial step in ensuring that your bird stays moist and flavorful throughout the roasting process. This technique involves regularly spooning the pan juices or a basting liquid over the turkey to help prevent the meat from drying out. Not only does basting add moisture, but it also helps to infuse the turkey with additional flavor from the juices and seasonings in the pan.
To properly baste the turkey, use a baster or a large spoon to drizzle the pan juices over the entire surface of the bird every 30-45 minutes during the cooking process. Be sure to work quickly to retain as much heat in the oven as possible. Avoid opening the oven door too frequently as this can cause fluctuations in temperature, which may affect the overall cooking time and result in an unevenly cooked turkey.
• Basting the turkey helps to keep it moist and flavorful
• Spoon pan juices or basting liquid over the turkey every 30-45 minutes
• Use a baster or large spoon for even coverage
• Work quickly to retain heat in the oven
• Avoid opening the oven door too frequently to prevent temperature fluctuations
Checking the Internal Temperature
To ensure your turkey is cooked to perfection, it is crucial to check the internal temperature using a meat thermometer. Insert the thermometer into the thickest part of the turkey, making sure not to touch the bone as this can give an inaccurate reading. The USDA recommends cooking turkey to an internal temperature of 165°F (74°C) in the innermost part of the thigh, wing, and thickest part of the breast. Checking the temperature at multiple points will help guarantee that the entire bird is cooked through.
It’s essential to remember that the temperature of the turkey should reach 165°F before removing it from the oven, as this ensures that any harmful bacteria are destroyed. Overcooking the turkey can result in dry meat, so monitoring the internal temperature closely is key to achieving a juicy and flavorful bird. Once the turkey has reached the appropriate temperature, remove it from the oven and let it rest for about 20-30 minutes before carving. This resting period allows the juices to redistribute, leading to a more succulent and delicious turkey for you and your guests to enjoy.
• Insert a meat thermometer into the thickest part of the turkey
• Make sure not to touch the bone for an accurate reading
• Cook turkey to an internal temperature of 165°F (74°C)
• Check temperature at multiple points for thorough cooking
• Turkey should reach 165°F before removing from oven
• Overcooking can result in dry meat, so monitor closely
• Let turkey rest for 20-30 minutes before carving
• Resting allows juices to redistribute for a more succulent bird
Resting the Turkey
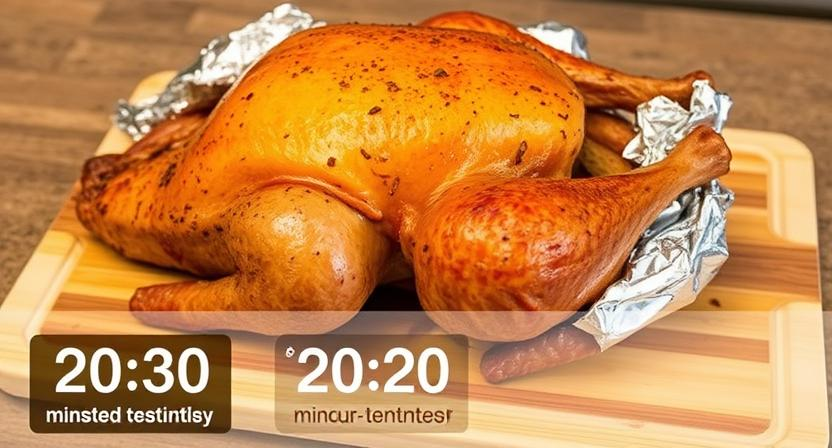
Resting the turkey is a crucial step in the cooking process. Once the turkey has finished roasting, carefully remove it from the oven and place it on a clean cutting board. Tent the turkey loosely with aluminum foil to help retain its heat and juices.
Allow the turkey to rest for at least 20-30 minutes before carving. This resting period allows the juices to redistribute throughout the meat, resulting in a more tender and flavorful bird. Resisting the urge to carve it immediately will ensure a better dining experience for you and your guests.
• Resting the turkey allows the juices to redistribute throughout the meat
• Tenting with aluminum foil helps retain heat and juices
• Waiting 20-30 minutes before carving results in a more tender and flavorful bird
• Resisting the urge to carve immediately will ensure a better dining experience
Carving the Turkey
To carve the turkey, begin by removing the string used for trussing. Place the turkey on a cutting board to stabilize it for carving. Use a sharp carving knife to make the initial incision along the breastbone. Cut alongside the breastbone to separate the breast meat from the ribcage. Slice the breast meat into even, thin pieces, working towards the thigh.
Next, locate the joint connecting the thigh to the body and gently separate it using the tip of the knife. Remove the thigh by slicing through the joint. Separate the drumstick from the thigh by cutting through the joint. Repeat the process on the other side of the turkey. Arrange the carved meat on a serving platter and garnish with fresh herbs for an attractive presentation.
• To carve the turkey, begin by removing the string used for trussing.
• Place the turkey on a cutting board to stabilize it for carving.
• Use a sharp carving knife to make the initial incision along the breastbone.
• Cut alongside the breastbone to separate the breast meat from the ribcage.
• Slice the breast meat into even, thin pieces, working towards the thigh.
• Next, locate the joint connecting the thigh to the body and gently separate it using
• Remove thigh by slicing through joint
• Separate drumstick from thigh by cutting through joint
• Repeat process on other side of turkey
• Arrange carved meat on serving platter
• Garnish with fresh herbs for an attractive presentation.
Making Gravy
To make gravy for your roasted turkey, start by collecting the drippings from the roasting pan. Remove the turkey from the pan and pour the drippings into a separate container, letting the fat rise to the top. Skim off excess fat, leaving behind the flavorful juices. Place the roasting pan on the stovetop over medium heat, stir in some flour, and cook until the mixture turns a medium-brown color. Gradually whisk in some chicken or turkey stock, scraping up any browned bits from the bottom of the pan to enhance the flavor. Simmer the gravy until it thickens to your desired consistency, season with salt and pepper, and strain before serving.
For a richer and more complex gravy, consider adding aromatics such as onions, carrots, and celery to the roasting pan while the turkey cooks. These vegetables will caramelize and infuse the drippings with extra depth of flavor. You can also incorporate herbs like rosemary, thyme, and sage into the gravy for a traditional Thanksgiving taste. To achieve a smooth texture, use a whisk to combine the flour and drippings thoroughly, ensuring there are no lumps in the final product. Adjust the seasoning as needed, then pour the gravy into a serving vessel and drizzle it over carved slices of turkey for a delicious finishing touch.
• Collect the drippings from the roasting pan after removing the turkey
• Skim off excess fat and leave behind flavorful juices
• Stir in flour and cook until mixture turns medium-brown
• Gradually whisk in chicken or turkey stock, scraping up browned bits for flavor enhancement
• Simmer gravy until desired consistency, season with salt and pepper, and strain before serving
• Add aromatics like onions, carrots, and celery to roasting pan for richer gravy
• Include herbs such as rosemary, thyme, and sage for traditional Thanksgiving taste
• Use a whisk to combine flour and drippings thoroughly for smooth texture
• Adjust seasoning as needed before pouring into serving vessel
• Drizzle over carved slices of turkey for a delicious finishing touch
Serving Suggestions
Once the turkey is perfectly cooked and ready to be served, consider presenting it on a large platter garnished with fresh herbs and fruits for a colorful and appetizing look. Accompany the turkey with classic Thanksgiving sides such as mashed potatoes, gravy, cranberry sauce, stuffing, and green bean casserole for a traditional holiday feast. To add a modern twist, consider serving the turkey with unique sauces or side dishes that complement its flavors.
For a more casual gathering, consider making turkey sandwiches with leftover meat, cranberry sauce, and a slice of cheese on toasted bread. Another option is to repurpose the turkey into a hearty soup or stew by using the meat along with vegetables and broth. Regardless of how you choose to serve the turkey, remember to enjoy the meal with loved ones and savor the flavors of a well-prepared Thanksgiving feast.
• Present the turkey on a large platter garnished with fresh herbs and fruits
• Accompany the turkey with classic Thanksgiving sides such as mashed potatoes, gravy, cranberry sauce, stuffing, and green bean casserole
• Consider serving the turkey with unique sauces or side dishes for a modern twist
• Make turkey sandwiches with leftover meat, cranberry sauce, and cheese on toasted bread for a casual gathering
• Repurpose the turkey into a hearty soup or stew by using the meat along with vegetables and broth
• Enjoy the meal with loved ones and savor the flavors of a well-prepared Thanksgiving feast
Storing Leftovers
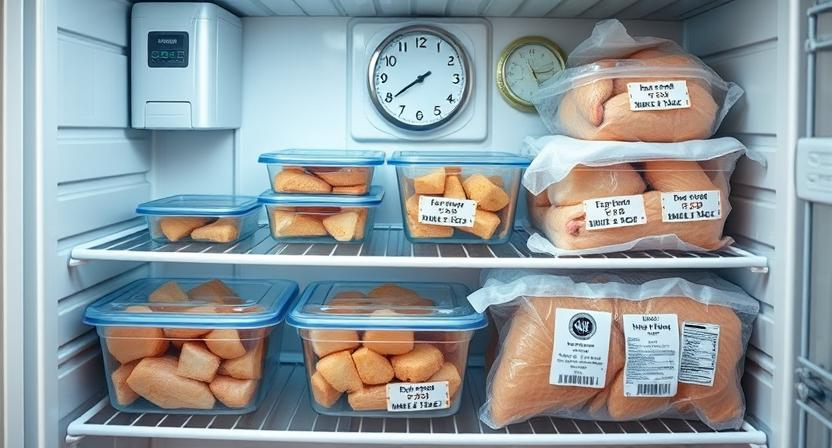
Leftover turkey can provide delicious meals in the days following your main Thanksgiving feast. To store leftovers safely, ensure that the turkey is properly cooled before placing it in an airtight container. Leftovers should be refrigerated within two hours of being served.
When storing turkey in the refrigerator, make sure to use it within three to four days. If you have more leftovers than you can consume in that time frame, consider freezing them. Turkey can be frozen for up to three months, but be sure to package it well to prevent freezer burn. Additionally, labeling the containers with the date can help you track how long the turkey has been stored.
– Make sure leftover turkey is properly cooled before storing
– Refrigerate leftovers within two hours of being served
– Use leftovers within three to four days if refrigerated
– Consider freezing leftovers if not consumed within time frame
– Turkey can be frozen for up to three months
– Package leftovers well to prevent freezer burn
– Label containers with date stored to track freshness
Cleaning Up
After enjoying a delicious Thanksgiving meal with family and friends, it’s time to tackle the aftermath in the kitchen. Start by clearing off the table and transferring any leftovers to containers for storage in the refrigerator. Next, gather all the dirty dishes, utensils, and cookware for washing. Remember to scrape off any food scraps into the trash before washing to prevent clogging the sink.
Once the dishes are washed and dried, it’s time to clean the countertops, stovetop, and any other surfaces that may have come in contact with food during the cooking process. Wipe down the counters with a soapy sponge and disinfectant to ensure a clean surface. Don’t forget to sweep or vacuum the floor to pick up any crumbs or spills that occurred during meal preparation. A final touch includes taking out the trash to eliminate any lingering food odors.
• Clear off the table and store leftovers in containers
• Gather dirty dishes, utensils, and cookware for washing
• Scrape off food scraps into the trash before washing dishes
• Clean countertops, stovetop, and other surfaces with soapy sponge and disinfectant
• Sweep or vacuum the floor to pick up crumbs or spills
• Take out the trash to eliminate lingering food odors.
Troubleshooting Tips
If your turkey seems to be browning too quickly on the outside but is still undercooked on the inside, tent it with aluminum foil to prevent further browning while allowing the inside to continue cooking. Another common issue is when the skin is not crisping up as desired. To fix this, you can increase the oven temperature slightly for the last part of the cooking time or finish off the turkey under the broiler for a few minutes, keeping a close eye to avoid burning it.
A dry turkey is a disappointment, but fortunately, there are ways to salvage it. If your turkey is turning out dry, consider making a flavorful gravy to serve alongside it to add moisture. Another option is to slice the turkey meat and drizzle some warmed broth or gravy over it before serving to keep it moist. Additionally, you can also repurpose the turkey leftovers to make sandwiches or salads where the dryness might not be as noticeable.
• If your turkey seems to be browning too quickly on the outside but is still undercooked on the inside, tent it with aluminum foil
• To prevent further browning while allowing the inside to continue cooking
• If the skin is not crisping up as desired, increase oven temperature slightly for last part of cooking time
• Finish off the turkey under broiler for a few minutes, keeping a close eye to avoid burning it
A dry turkey can be disappointing, but there are ways to salvage it:
• Make flavorful gravy to serve alongside it to add moisture
• Slice the turkey meat and drizzle warmed broth or gravy over it before serving
to keep it moist
• Repurpose turkey leftovers for sandwiches or salads where dryness might not be as noticeable.
Garnishing and Presentation
For an eye-catching presentation, consider garnishing your turkey with fresh herbs such as rosemary, thyme, or sage. These herbs not only add a pop of color but also infuse the meat with their aromatic flavors. Sprigs of fresh herbs can be tucked around the turkey on the platter or used as a garnish on individual serving plates.
In addition to herbs, you can add sliced oranges, lemons, or cranberries to the platter for a festive touch. These vibrant fruits not only brighten up the presentation but also provide a burst of fresh flavor that complements the rich taste of the turkey. Remember to arrange the garnishes in a visually appealing way to make your turkey the centerpiece of the holiday table.
• Fresh herbs like rosemary, thyme, or sage can add color and flavor to the turkey
• Sprigs of fresh herbs can be used as a garnish on individual serving plates
• Sliced oranges, lemons, or cranberries can provide a festive touch to the platter
• Vibrant fruits not only brighten up the presentation but also complement the rich taste of the turkey
• Arrange garnishes in a visually appealing way to make your turkey stand out on the holiday table